Are you using the new version of the giosg script tag with the new chat window? Then have a look at this guide instead.
If you have not updated your giosg account to v2 and wish to do so, contact support@giosg.com. You can read more about the differences between the versions here.
In this guide you'll find information about editing:
Desktop chat window
In the giosg console, click Settings → Chat windows to create new chat windows and edit existing ones. You can edit the texts and position, as well as add your logo to the chat window.
The chat window that is used in a domain is determined from Settings →Rooms → Choose domain → Chat window dropdown menu (in the Chat settings section).
Customisations
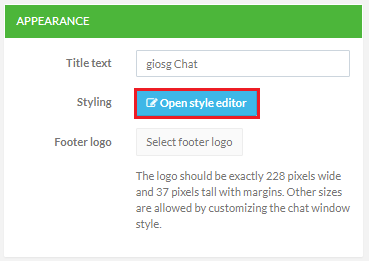
If needed you can make changes in the design of the window, by clicking "Open style editor" (Settings → Chat windows → Choose window) . Here you can edit the css styles of the window.
Please note that giosg is not responsible for customisations made to the chat window. Our recommendation is to stay to the default window, as only that is widely tested and supported by us.
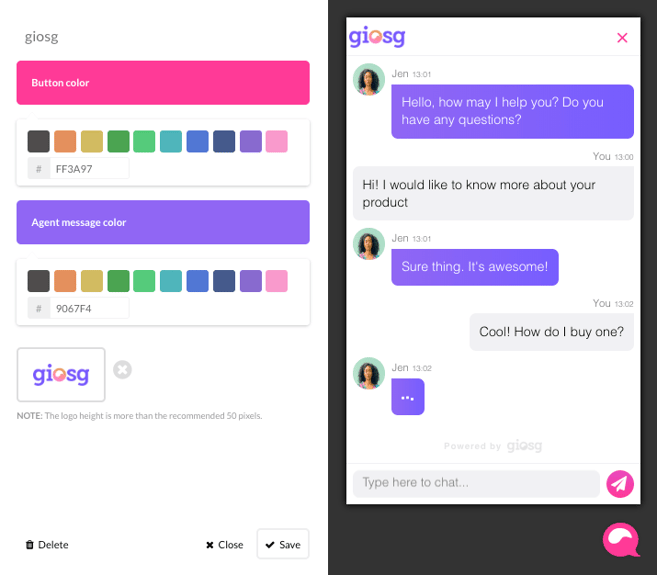
Editing colors
You can customise the looks of your chat window and match it with your brand colors. Here’s how:
- Go to Settings > Chat windows and select the chat window you wish to edit. Alternatively, you may go to Settings > Rooms and click the chat window you have in use in a chat room.
- Click “Open style editor” on the right side of the page.
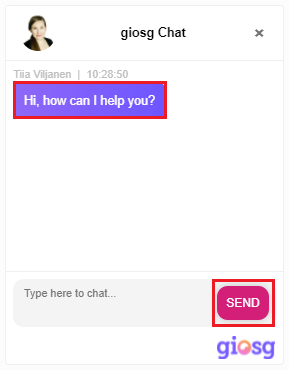
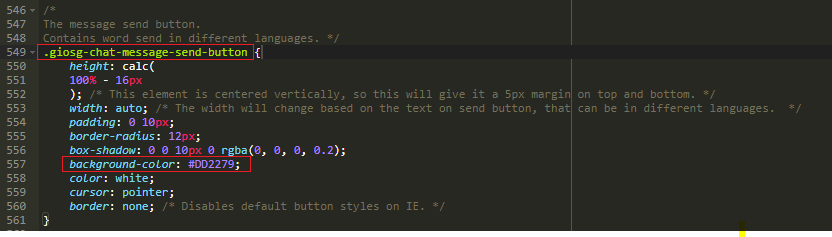
- The two elements we recommend to change the colors for are: .giosg-chat-agent-message and .giosg-chat-message-send-button . Find these elements in the CSS editor and change the colour code for the background.
- Click save from the top right corner of the page.

Using custom fonts
The chat window is composed of two parts. The outer part is on the website the visitor is currently on. The inner part is a iframe loaded from the giosg servers. For the outer part you can use any fonts that are already loaded on the page.
If you want to use custom fonts for the elements in the iframe (such as in the chat messages) you need to add the font-face declarations under the iframe template (Settings → Chat windows → Choose window → Open style editor). You might need to allow the font's to be loaded from the service.giosg.com domain. You can also upload the fonts to the giosg assets (Settings → Assets) in your account and use those urls in your font-face declaration.
Testing the window while customising it
There is a preview of the window in the Style editor, but it is also possible to test the chat (and chat window) in your own test environment. To add your test domain to the giosg account:
- Add the giosg script tag (Settings → Company → Script tag, or here) to your test environment
- Add your test domain to the giosg console by going to Settings → Domains → Add a new domain (more info about adding domains here)
- Create a new chat window from Settings → Chat windows and start editing it.
- Choose which chat window to use in the test environment. In Settings → Rooms, choose your test domain and select the window you've created in the chat window menu.
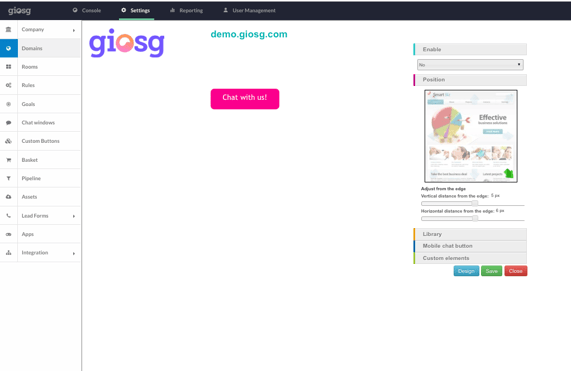
Editing the desktop chat button
To edit the chat button, go to Settings → Domains → speech bubble icon. Here you can edit the appearance, text and position of the chat button.
Change the text on the button simply by clicking on the current text, and type in the new text.
The design can be edited by clicking "Design".
The chat button will appear on all pages by default. If you want to decide on which pages the chat button is showing, please use giosg Rules.
Mobile chat window and button
The mobile chat settings can be found from Settings → Rooms → Choose room → Brand. Click "Create brand" to create a new design, or choose "Edit brand" to update an existing one. Choose which brand to use in the room from the Brand-menu.
You can edit chat button colour, agent message box colour and to add a logo to the window header.