To activate your AI Agent, simply follow the steps below. If you need to deactivate it, just reverse these changes. To do these steps, you need AI Chatbot Admin permissions (step 1 & 2) and Settings permissions (step 3). Read more about user permissions here.
1. Define the Service type
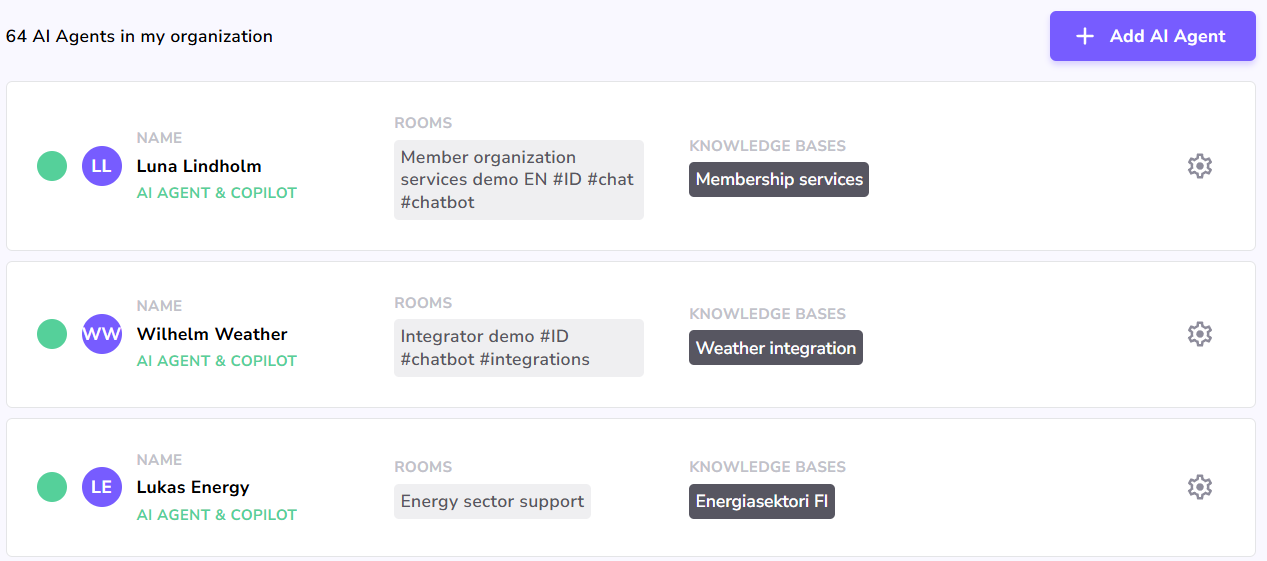
From the AI Agents UI choose the correct Agent and open it's Settings from the cogwheel icon.
In the Services section, choose what type of services your AI Agent will provide. Will it chat directly with visitors (Chatbot mode) or will it suggest replies to your Human Agents (Copilot mode)? The same AI Agent can of course also do both.
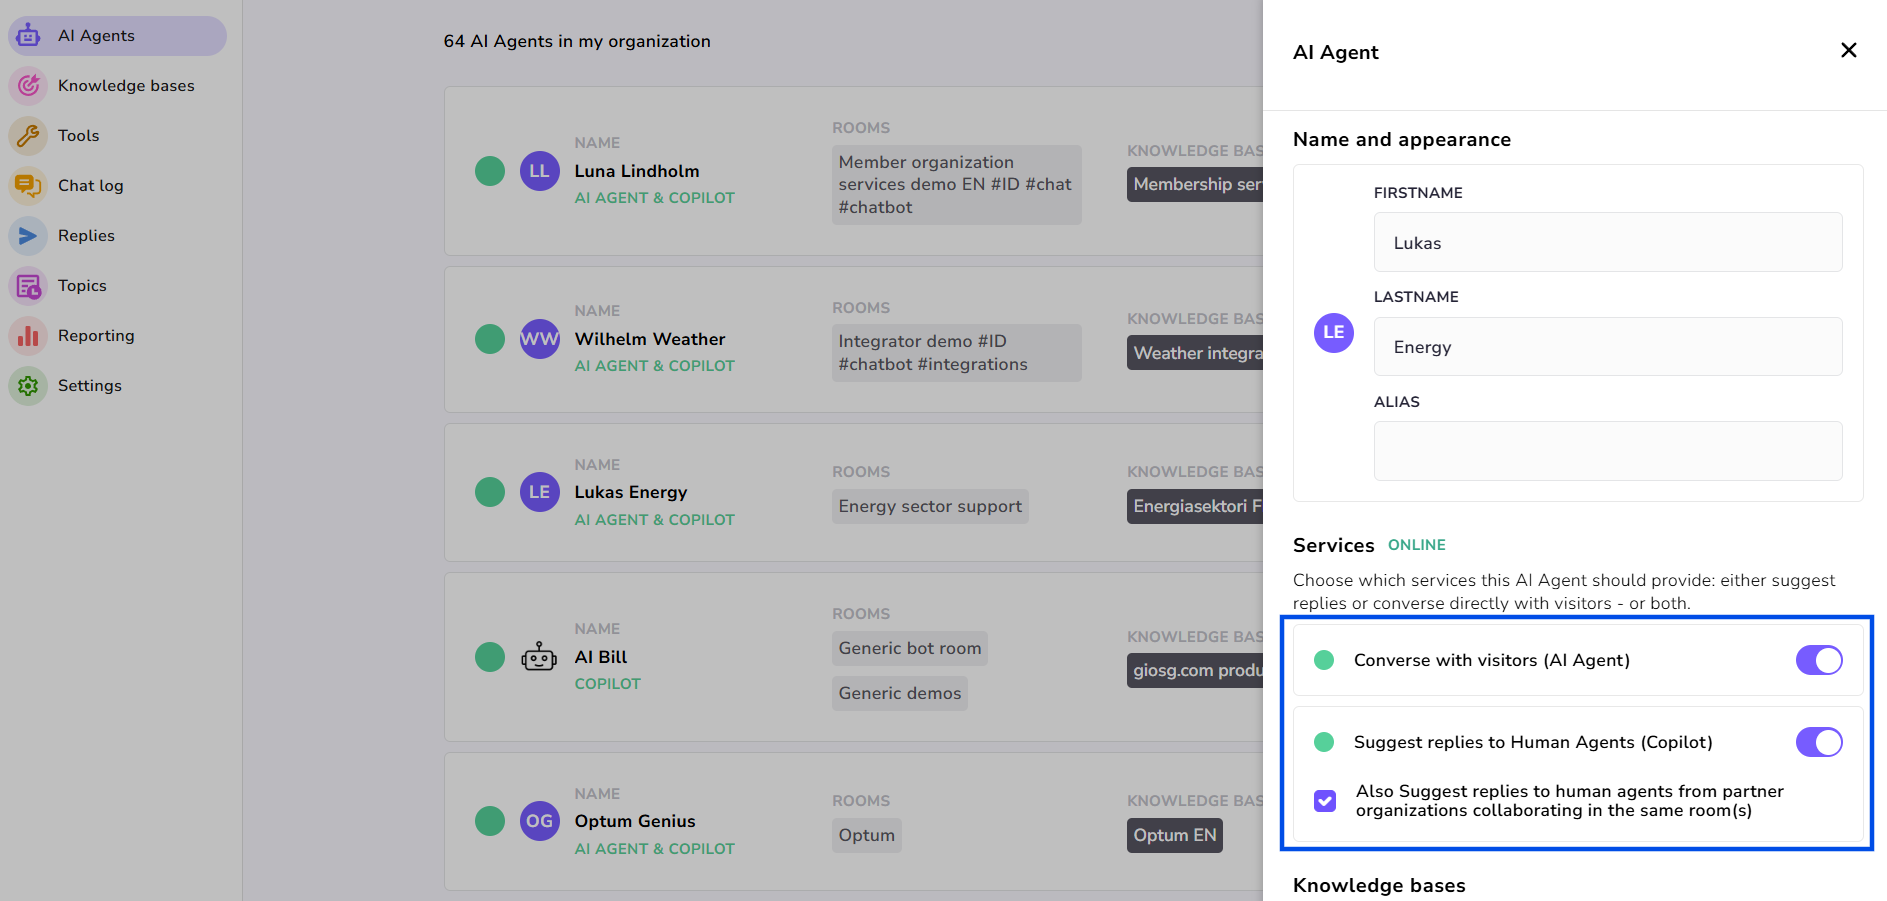
Note that your subscription might limit which Services are possible for your AI Agent. Contact support@giosg.com for more information.
2. Give the AI Agent access to rooms
In the same Settings section as above, choose which room(s) the AI Agent will work in.
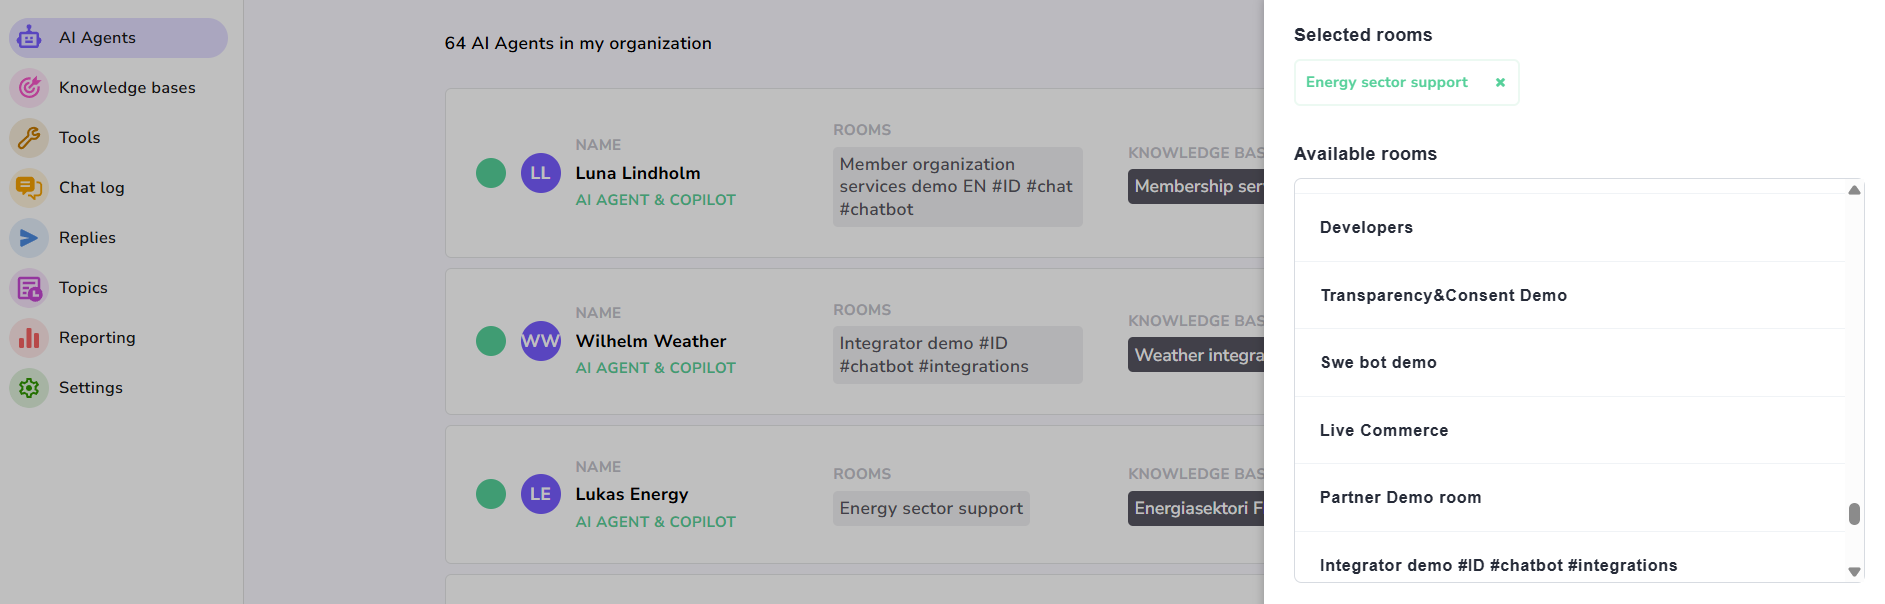
When the Service type (1) has been selected and rooms (2) have been defined, your AI Agent will start joining new conversations and working in them.
3. Add the AI Agent to room routers (for Chatbot mode only)
To allow the chat to be available on the website when only the AI Agent is working (for example outside of human service hours), head over to Settings → Domains and Rooms and choose your room. In room settings, clicks "Edit router" and add the AI Agent to the first step of the router.
For more information on routers visit our Routers guide.
Finally, if your Human Agents have been working in the room by themselves earlier and you are now having an AI Agent join them, checking the Service hours is a good idea. Disable Service hours completely if you intend on having your AI Agent serving your visitors in the room 24/7.
Read more about Service hours here.
The steps described here in part 3 are not necessary for AI Agent working in Copilot mode.