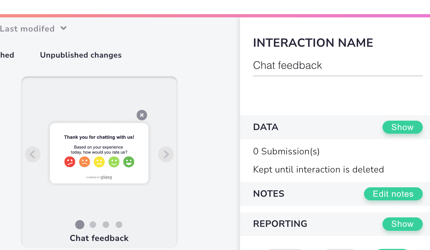
Add a feedback questionnaire after chat
Showing a feedback questionnaire to your customers after a chat conversation is a good way to measure customer experience in the chat.
If you want to ask your website visitors for feedback on how happy they were with the service provided in the chat, you can do this by creating a questionnaire in Interaction builder. The feedback interaction can then be showed to your visitors after they have chatted.
Continue reading for step-by-step instructions for setting this up. The article covers the following topics:
Creating the questionnaire
Start by creating the questionnaire in Interaction builder. You can create the survey from scratch, or use one of our ready-made templates for it.
![]()

You can then design the interaction the way you want to and easily adapt also the ready-made templates to suit your brand by adding your own fonts and colors to it. The interaction can include text fields, numerical values or buttons in the form of images. Just choose the content and format you need to measure your specific use case!
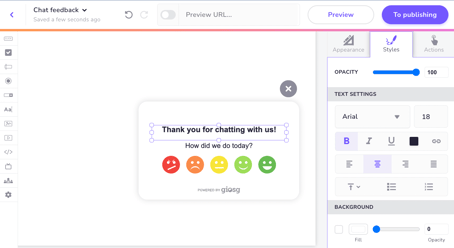
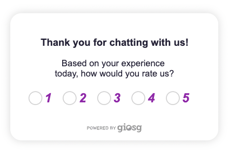
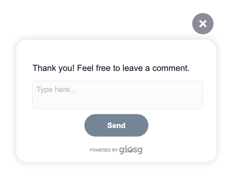
If you want to ask the visitor several questions, you can divide your interaction into several views so that the visitor is asked one question at the time. Just change views after each question with the "Change view action" (see this article about actions).
To collect data in giosg, use the "Submit form" action in your CTA button (Send-button or similar).

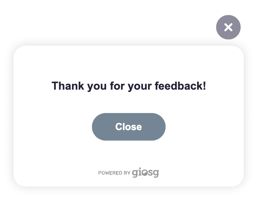
We suggest ending the interaction with a "thank you" - view, that tells the visitor that the feedback was submitted successfully.
Publishing the questionnaire
When you are happy with your interaction you can go ahead and publish it.
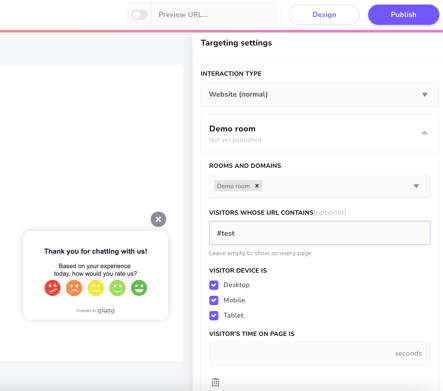
1. Click “To Publishing” from the top right corner of the page.
- Choose your chat room(s) in “Rooms and domains"
- Temporarily add a URL condition (like #test) in the "Visitors whose URL contains" field. This prevents the interaction from showing too early.
- Click “Publish”.
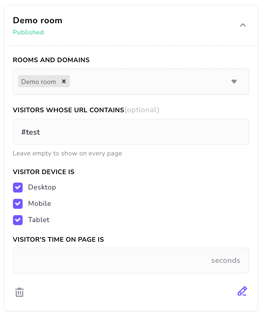
2. Once published, open the rule that shows the interaction from the “pen” icon.
In the rule:
- If the rule has a "Visitor's URL contains: #test" condition, remove it.
- Click “Add new condition” → Add “Giosg event triggered" and "Chat window closed"
- Click “Add new condition” → Add "Visitor has chatted" and "Only real chats"
- Tick the box "Do not hide interaction automatically" in the blue action box.
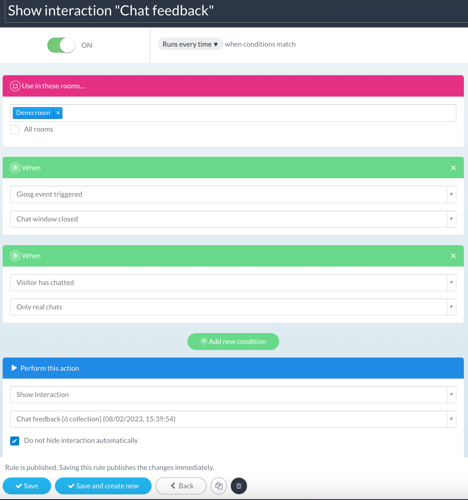
4. Save your rule and you are done!
This combination of rules conditions will show the feedback interaction when A. a visitor closes the chat window if B. they have had an actual conversation with your chat team.
Monitoring the results
Once the interaction is ready and has been published, you can see the feedback you've been given from the giosg reporting. Depending on how you have set up your interaction and which elements you have used in it (buttons, radio buttons, input fields...) you might need one of the Interaction reports or both of them. You can access the reports from the Interaction builder front page, after choosing your feedback interaction by clicking on it once. You can then choose "Data " → "Show" (Form data report) or "Reporting" → "Show" (Interactions report) to see data.
