Using interactions as chat and call buttons
Using Interaction Builder to create chat and/or call buttons to match your brand is great way to improve the user experience of chatting and calling.
Follow these easy steps to create your own chat or call button. If you are using our default chat button, here is a guide on how to modify it.
1. Create the interaction
Start by creating the button interaction in Interaction builder. The button can be inside an interaction or an interaction of its own.
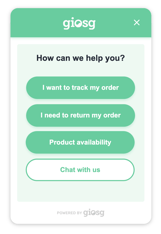
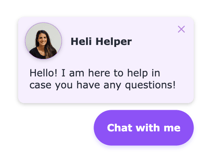
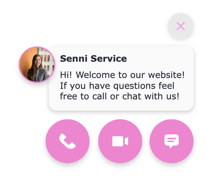
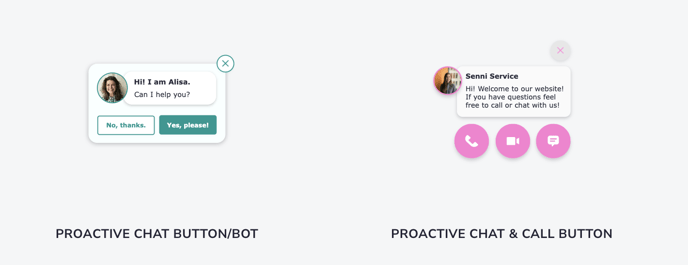
There are a couple of ready-made chat/call button templates in the template library to start from or you can build your own by selecting “BLANK” after clicking “New interaction”. To find the chat button templates you can search for “button”.
2. Defining actions
CHAT BUTTONS
Define the action for the button. When you want the button to open the chat window, select the action called "Open chat to a room".
From the dropdown menu that opens below, you can select in which room the chat opens. For example, if you have two different buttons (language versions etc.), you can choose a different room for each button, so that the chats are directed to the right recipients.
After selecting the room, two more dropdown menus will open below. From these you can define what happens to the button when the chat agents are offline. If you select the show always option, the chat button will be visible 24/7 regardless of whether the chat is closed. This option works if you are using separate interactions for when the chat is opened and when it is closed.
For better usability we recommend to disable or hide the chat button when the chat is closed. By choosing “Disable if no agents online” or “Hide if no agents online”. If you choose to disable the button remember to check how it will look by going under the “Styles” tab and scrolling down to DISABLED STYLES.
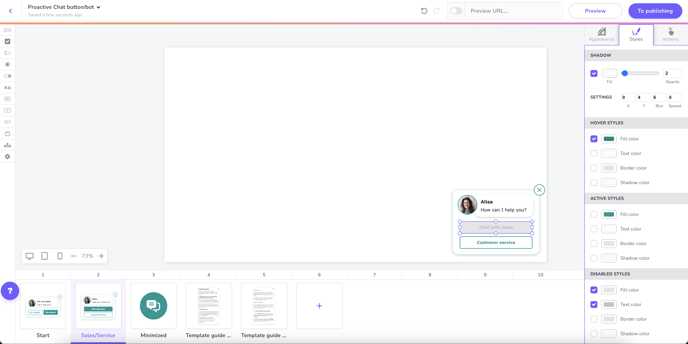
If you choose to hide the button you can add another button underneath to for example open a contact form at times when the chat button is invisible. Have a look at this article for instructions.
You can also choose whether an automatic welcome message from the agent is sent to the chat window when the chat button is clicked. If you don't want to send the welcome message, select "No welcome message". If you want to send some kind of a welcome message, select "Send welcome message". Below you can define the content of the message and the sender name.

CALL BUTTONS
Define actions for call buttons. If you want to start a call from the button select an action "Start call". More dropdown menus open up underneath. Like with chat buttons here you also need to choose in which room to open the call to.
After selecting the correct room, set the settings for button visibility. Here you can choose from options “Show always”, “Hide if no agents online” and “Disable if no agents online”. We recommend choosing to hide or disable the button in case no agents are online.
From the next dropdown choose the correct audio settings for the call. You can select audio & video or just either one of them.
You can also set a name for the agent as well as add an avatar image from “Click here to set call avatar”. These will be visible for the visitor calling.

3. Publish the interaction
When you are ready with your settings and design you can publish the interaction. Click To publishing from the top right corner. Choose your website under Rooms and domains and click Publish. This guide will tell you more about publishing interactions.
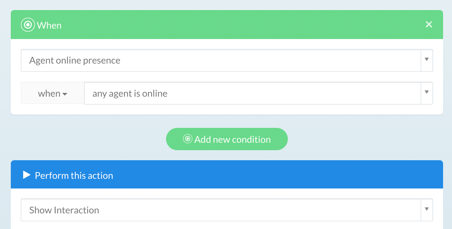
If you want the whole interaction to show only when the chat is open, click the pen icon on the Publish page in interaction builder and add (at least) the "Agent online presence - any agent is online" condition to the rule.
If you have been using the default chat button and are replacing it with an interaction, you need to disable the old button. The way to do this depends on your set-up, but is typically one of these two:
1. Disable the Rules used to show the button. These use the "Enable chat button" rules action.
2. Go to Settings -> Domains and Rooms -> Choose room, and untick the "Show chat button" setting in the Chat settings section.